Building Native iOS Widgets with Swift in a React Native Expo App
One of the most requested features for mobile apps is iOS widgets - those glanceable pieces of information on your lock screen or home screen. But if you're building with React Native and Expo, you might think you need to eject to write native Swift code.
You don't. Here's how to build native iOS widgets using @bacons/apple-targets while staying in the managed Expo workflow.
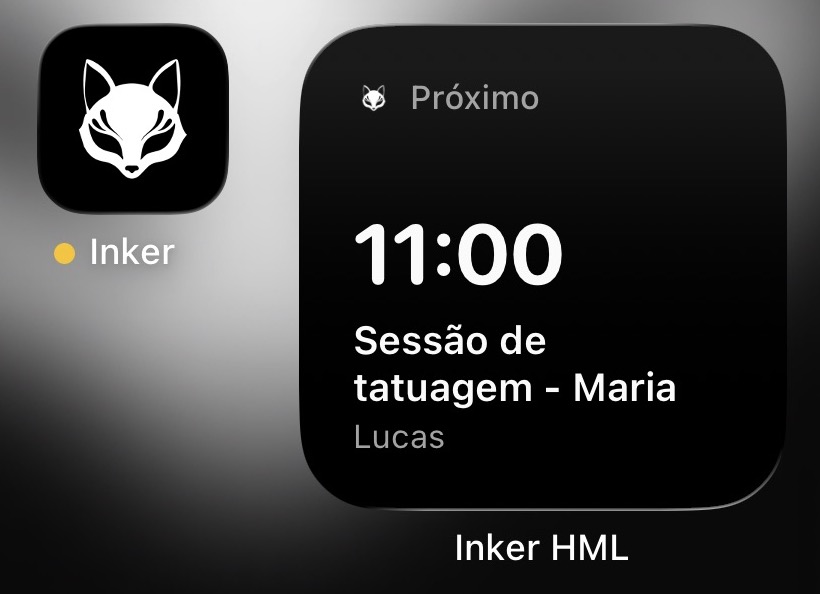
Here's what I built for the Inker app - a calendar widget in two sizes:

What is @bacons/apple-targets?
It's an Expo plugin created by Evan Bacon that lets you add iOS extensions (widgets, share extensions, notification extensions) to your Expo app. You write real Swift code, and it integrates seamlessly with EAS Build.
Key benefits:
- No ejecting from Expo
- Real SwiftUI code, not a JS bridge
- Works with EAS Build out of the box
- Multiple targets support (widgets, share extensions, etc.)
Getting Started
1. Install the Package
npx expo install @bacons/apple-targets
2. Add to Your Plugins
In app.config.js:
module.exports = {
  expo: {
    // ... your config
    plugins: [
      '@bacons/apple-targets',
      // ... other plugins
    ],
  },
}
3. Configure App Groups
App Groups are the bridge between your main app and the widget extension. Both need access to the same shared storage.
// app.config.js
ios: {
  entitlements: {
    'com.apple.security.application-groups': [
      'group.com.yourcompany.yourapp',
    ],
  },
}
4. Create the Widget Target
Create a targets/ folder in your project root:
targets/
└── widget/
    ├── expo-target.config.js
    ├── Widget.swift
    ├── Models/
    │   └── DataModels.swift
    ├── Views/
    │   └── WidgetView.swift
    └── Assets.xcassets/
5. Configure the Target
// targets/widget/expo-target.config.js

/** @type {import('@bacons/apple-targets/app.plugin').ConfigFunction} */
module.exports = (config) => ({
  type: 'widget',
  icon: '../../assets/widget-icon.png',
  entitlements: {
    'com.apple.security.application-groups': ['group.com.yourcompany.yourapp'],
  },
})
Writing the Swift Code
Widget Entry Point
// targets/widget/Widget.swift
import WidgetKit
import SwiftUI

@main
struct MyWidgetBundle: WidgetBundle {
  var body: some Widget {
    MyWidget()
  }
}
Data Models
Keep your Swift models in sync with your TypeScript types:
// targets/widget/Models/DataModels.swift
import Foundation

struct WidgetData: Codable {
  let title: String
  let subtitle: String
  let updatedAt: String

  var isStale: Bool {
    guard let date = ISO8601DateFormatter().date(from: updatedAt) else { return true }
    return Date().timeIntervalSince(date) > 3600 // 1 hour
  }
}
Timeline Provider
The provider fetches data from App Groups and creates timeline entries:
// targets/widget/Providers/WidgetProvider.swift
import WidgetKit

struct WidgetEntry: TimelineEntry {
  let date: Date
  let data: WidgetData?
}

struct WidgetProvider: TimelineProvider {
  private let appGroup = "group.com.yourcompany.yourapp"
  private let dataKey = "widget_data"

  func placeholder(in context: Context) -> WidgetEntry {
    WidgetEntry(date: Date(), data: nil)
  }

  func getSnapshot(in context: Context, completion: @escaping (WidgetEntry) -> Void) {
    let entry = WidgetEntry(date: Date(), data: loadData())
    completion(entry)
  }

  func getTimeline(in context: Context, completion: @escaping (Timeline<WidgetEntry>) -> Void) {
    let entry = WidgetEntry(date: Date(), data: loadData())

    // Refresh every 15 minutes
    let refreshDate = Calendar.current.date(byAdding: .minute, value: 15, to: Date())!
    let timeline = Timeline(entries: [entry], policy: .after(refreshDate))
    completion(timeline)
  }

  private func loadData() -> WidgetData? {
    guard
      let defaults = UserDefaults(suiteName: appGroup),
      let json = defaults.string(forKey: dataKey),
      let data = json.data(using: .utf8)
    else { return nil }

    return try? JSONDecoder().decode(WidgetData.self, from: data)
  }
}
SwiftUI View
// targets/widget/Views/WidgetView.swift
import SwiftUI
import WidgetKit

struct MyWidgetView: View {
  let entry: WidgetEntry

  @Environment(\.colorScheme) var colorScheme

  var body: some View {
    if let data = entry.data {
      VStack(alignment: .leading) {
        Text(data.title)
          .font(.headline)
        Text(data.subtitle)
          .font(.subheadline)
          .foregroundColor(.secondary)
      }
      .containerBackground(for: .widget) { Color.clear }
    } else {
      Text("Open app to sync")
        .font(.caption)
        .foregroundColor(.secondary)
        .containerBackground(for: .widget) { Color.clear }
    }
  }
}

struct MyWidget: Widget {
  let kind = "MyWidget"

  var body: some WidgetConfiguration {
    StaticConfiguration(kind: kind, provider: WidgetProvider()) { entry in
      MyWidgetView(entry: entry)
    }
    .configurationDisplayName("My Widget")
    .description("Shows your latest data")
    .supportedFamilies([.systemSmall, .systemMedium])
  }
}
React Native Side: Syncing Data
Use ExtensionStorage from @bacons/apple-targets to write data:
import { ExtensionStorage } from '@bacons/apple-targets'

const APP_GROUP = 'group.com.yourcompany.yourapp'
const WIDGET_KEY = 'widget_data'
const WIDGET_KIND = 'MyWidget'

interface WidgetData {
  title: string
  subtitle: string
  updatedAt: string
}

export function updateWidget(data: WidgetData): void {
  try {
    const storage = new ExtensionStorage(APP_GROUP)
    storage.set(WIDGET_KEY, JSON.stringify(data))

    // Signal the widget to refresh
    ExtensionStorage.reloadWidget(WIDGET_KIND)
  } catch (error) {
    console.error('Failed to update widget:', error)
  }
}

export function clearWidget(): void {
  try {
    const storage = new ExtensionStorage(APP_GROUP)
    storage.remove(WIDGET_KEY)
    ExtensionStorage.reloadWidget(WIDGET_KIND)
  } catch (error) {
    console.error('Failed to clear widget:', error)
  }
}
Sync When App Goes to Background
import { useEffect } from 'react'
import { AppState } from 'react-native'

function useWidgetSync(data: WidgetData) {
  useEffect(() => {
    const subscription = AppState.addEventListener('change', (state) => {
      if (state === 'background') {
        updateWidget(data)
      }
    })

    return () => subscription.remove()
  }, [data])
}
The Data Flow
React Native App
       │
       ▼
ExtensionStorage.set() ──► App Groups (UserDefaults)
       │
       ▼
ExtensionStorage.reloadWidget()
       │
       ▼
iOS WidgetKit refreshes timeline
       │
       ▼
WidgetProvider.loadData()
       │
       ▼
SwiftUI renders the widget
Supporting Light/Dark Mode
struct WidgetTheme {
  let background: Color
  let foreground: Color
  let secondary: Color

  static let light = WidgetTheme(
    background: .white,
    foreground: Color(hex: "#0A0A0A"),
    secondary: Color(hex: "#737373")
  )

  static let dark = WidgetTheme(
    background: Color(hex: "#0A0A0A"),
    foreground: .white,
    secondary: Color(hex: "#A3A3A3")
  )
}

// In your view:
@Environment(\.colorScheme) var colorScheme

private var theme: WidgetTheme {
  colorScheme == .dark ? .dark : .light
}
Tips for Success
-
Keep models in sync - Your Swift
Codablestructs must match your TypeScript interfaces exactly -
Test on device - Widgets don't work in Expo Go; you need a development build via
eas build -
Handle empty states - Widget should look good even without data
-
Mind the refresh limits - iOS limits how often widgets can refresh; use timeline entries wisely
-
Use multiple App Groups for environments - Have separate groups for dev/staging/production
-
Clear data on logout - Don't show stale user data in widgets
Building and Testing
# Create a development build
eas build --profile development --platform ios

# Or build locally
npx expo prebuild && npx expo run:ios
Conclusion
With @bacons/apple-targets, you get the best of both worlds: native Swift/SwiftUI widgets with all the performance and system integration of native code, while keeping your main app in React Native with the Expo workflow.
The widget is truly native - real SwiftUI, real WidgetKit, real App Groups. No bridges, no compromises.